
Installing Git
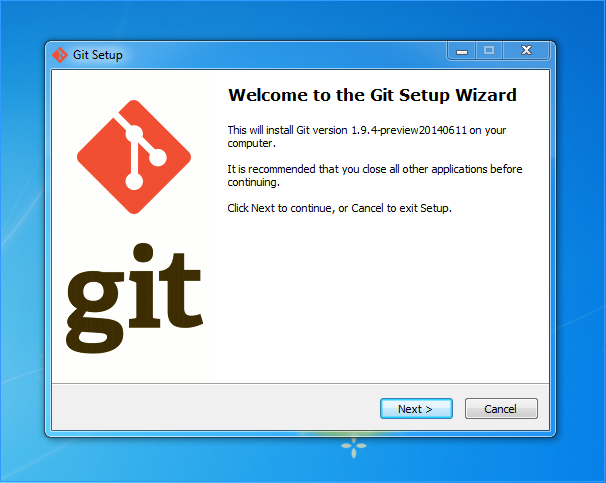
There are a couple of different ways to install Git on Windows. We recommend using msysGit. To get started, head over to their website, download their installer and install it onto your computer.
You can either use Git on the command line using a terminal or you can install a graphical interface. The command line option is often quicker and means that you can gain a better understanding of how things work and what exactly you are doing. In this guide, we're going to use the command line.
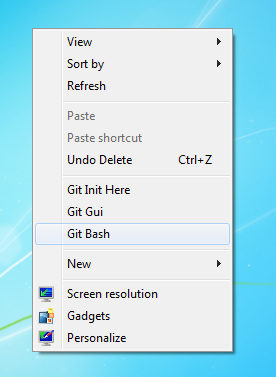
To open up a Git Bash window, just right click on your Desktop and select Git Bash.
Configuring Git
The first thing you should do before using Git for the first time is to set your name & e-mail address in the Git configuration. This information is used whenever you make a commit so that everyone knows who made the changes. To do that, just run these two commands but don't forget to add your own name & email address.
$ git config --global user.name "Your Name Here"
$ git config --global user.email "joe@bloggs.com"
Initializing your first repository
We're going to assume that you have an existing project which you wish to import into a Git repository. We'll call this project Potato and it will be saved in your home directory. The first thing we need to run in our terminal is run a command to move our current working directory to our project.
$ cd ../Potato
If you run the ls command, you'll see that we have a number of folders & directories in our project which we want to add to our Git repository. Let's now go ahead and initialize our repository.
$ git init
Running this command will initialize a new empty repository in our project directory. This repository will be stored in a hidden folder named .git. You don't really need to worry about this as you'll rarely need to go into this directory and most of the files in it are managed for you by Git.
Committing for the first time
Once the repository has been initialized, you can now run the git status command which will show you the current status of your repository. This allows you to see which files have recently changed or which exist in your local directory but haven't yet been added to your repository.
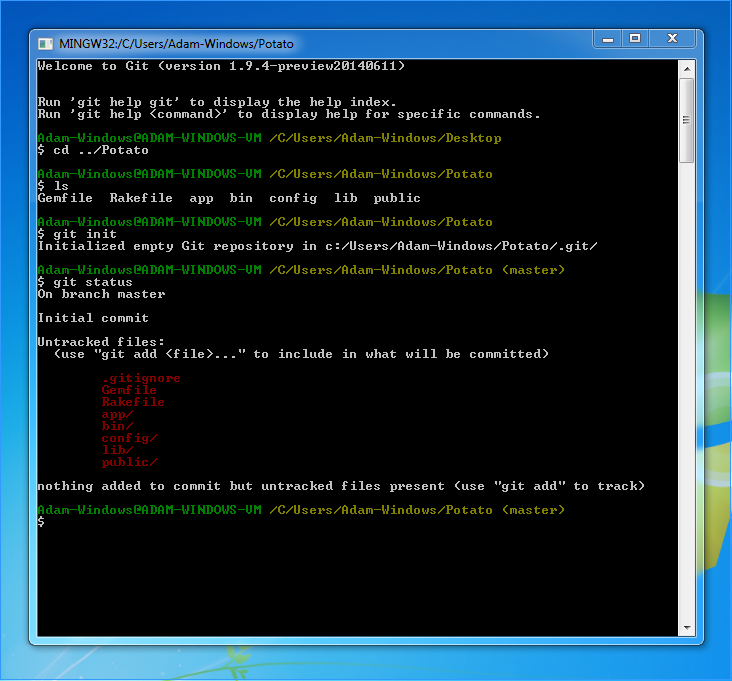
In this last image, you can see that we have a number of untracked files. This means they haven't yet been added to our Git repository and in order to commit them, we will need to add them.
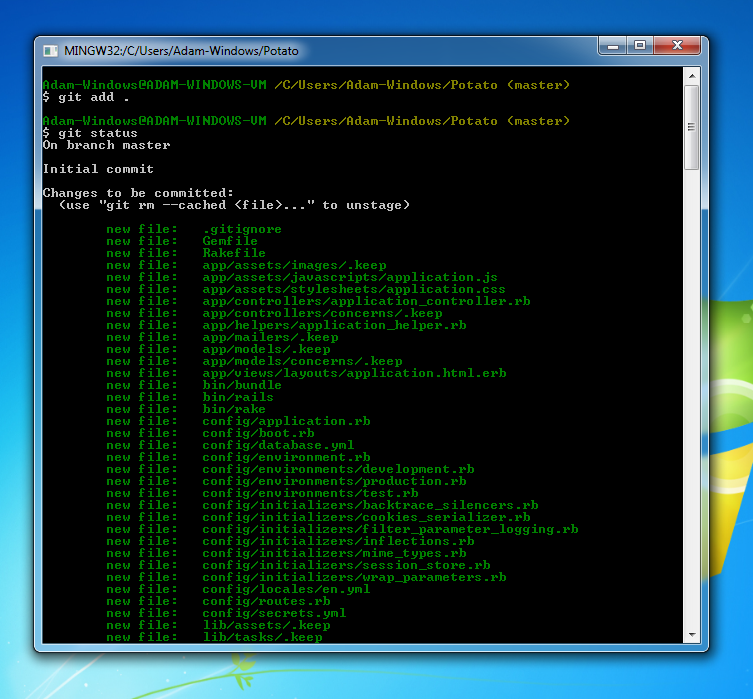
$ git add .
This command will add all files in the directory to our staging area. Any files in this staging area will be included in the next commit which you make. If you re-run git status you'll see that all the files in your project are now under the heading "Changes to be committed".
Next, we need to actually create a commit which will contain all these changes. In the case of our first commit, it will contain all the work we have done so far.
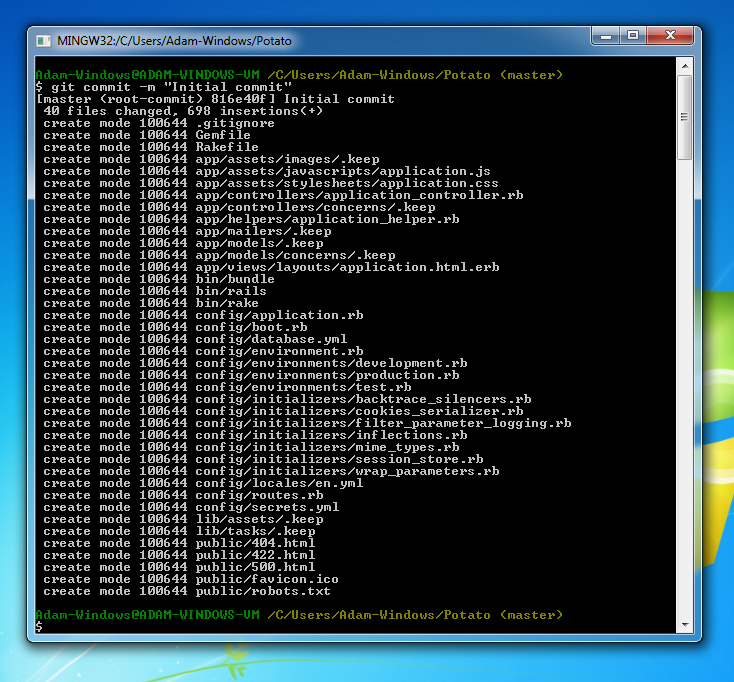
$ git commit -m "Initial commit"
The -m flag here allows you to specify a message. You can write whatever you want here. We recommend that you be as descriptive as possible to help the rest of the team identify what has been changed. When you pressed enter the commit will be given a unique reference which will consist of letters and numbers. You'll also be presented with a list of all the files which have been added in the commit.
Looking at your commits & changes
If you want to look at a complete history of all the commits in your repository, you can do so using the git log command. This shows you all the commits which have been made to your repository in reverse order (with the most recent at the top).
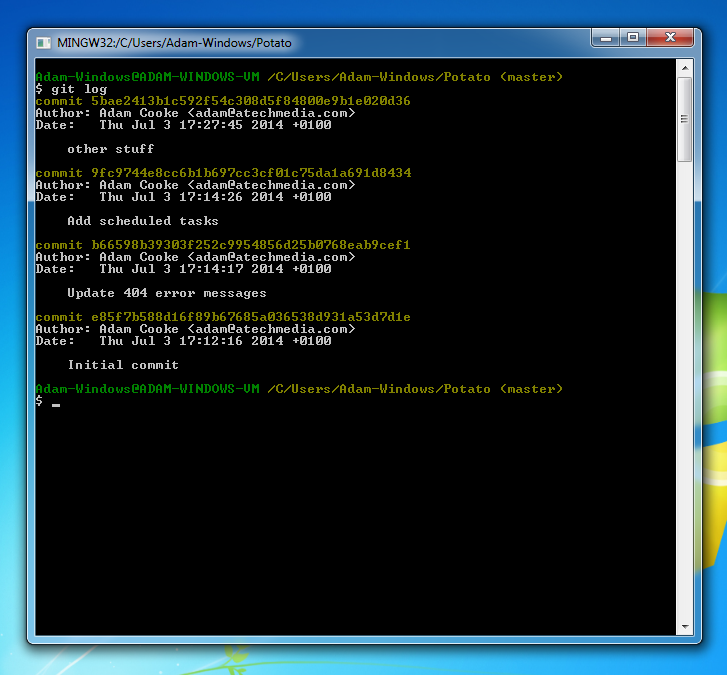
As you can see in the screenshot above, each commit has a reference, an author, a date and your message. Once you've got a commit reference, you can use it to easily revert changes or view all the changes made in the commit.
The git show command allows you to look at a complete diff of all the changes which were included in the commit.

Sharing your repository
At this point, you have a fully working Git repository. You could just leave it at that and continue to work on your own but in many cases you'll need to share this with a team or push to external server. Git hosting services like Codebase provide you with a graphical interface to look at your repository and manage your code. It also facilitates sharing the repository with other members of your team.
If you want to publish your repository, the first thing to do is create a new repository in Codebase. Just open up a project, and select New Repository from the Repos tab. Then, enter a name and ensure that Git is selected as the repository type.
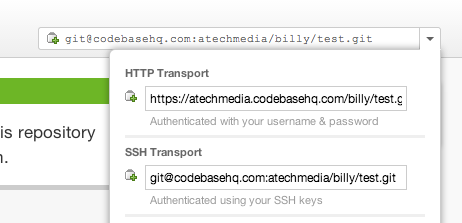
Once this has been created, you'll be presented with instructions and a URL which you can use to push your repository to Codebase. Click on the arrow next to the URL and copy the HTTP Transport URL to your clipboard.
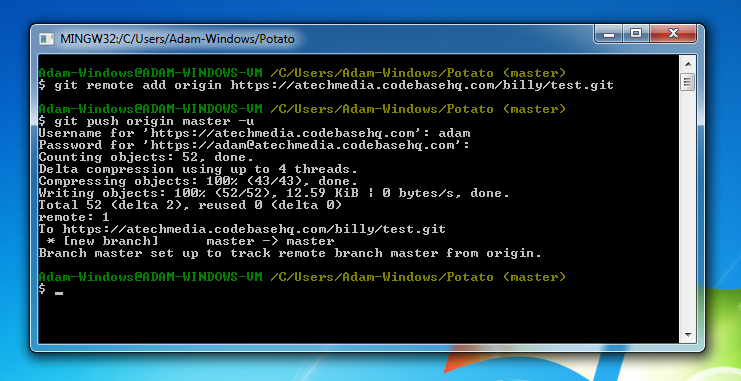
Then, head back to your terminal window and run the following two commands. The first command will add a reference to your repository which tells it where your repository lives and the second actually pushes it to the service. You will be prompted to enter your Codebase username & password, enter these and press enter to continue.
$ git remote add origin https://atechmedia.codebasehq.com/project/repository.git
$ git push origin master -u
This may take a few moments depending on the speed of your internet connection.
Once complete, you can sleep better knowing that your repository and all your code is sitting safely on the Codebase servers. Even if you drop your laptop down the stairs, we'll have a copy of your code ready and waiting for you when your new one arrives.
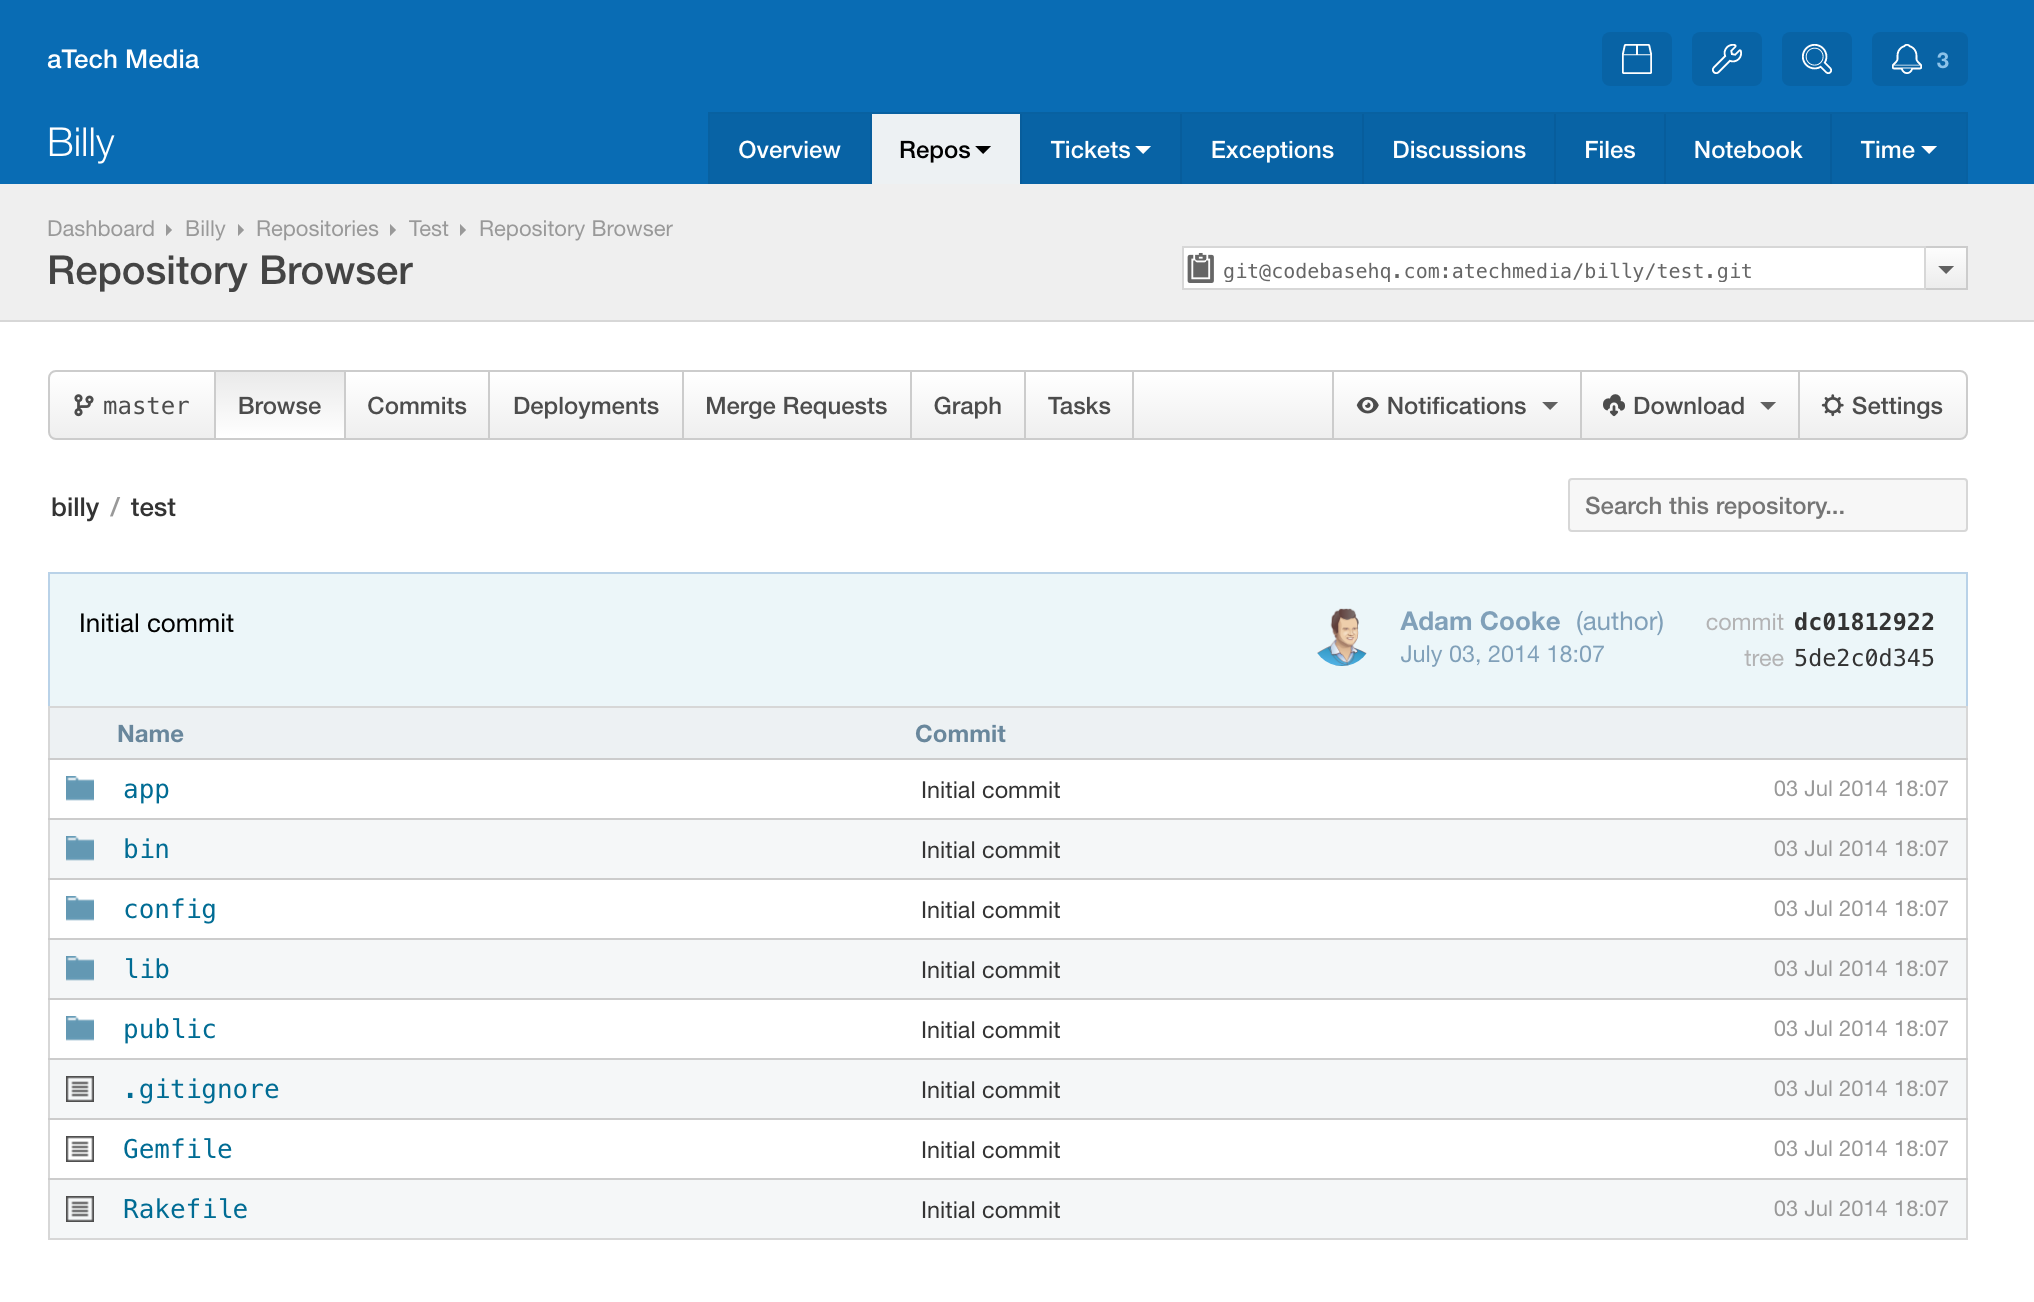
You can now browse your whole repository including all history and files through the Codebase interface.
Parting thoughts
This guide has talked you through the steps needed to get started with Git. There are many other exciting things to learn about Git which will help you on a daily basis. From feature branches & merging to bisecting & cherry picking, the things you can do are endless and we're here to help you understand them all.
